How to Create Assignments
Introduction
We give a summary of the steps to create an assignment.
Procedure
-
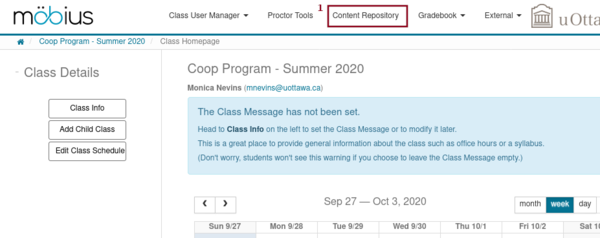
To create an assignment, you have first to access the Content Repository (item 1 in the figure below).
-
Then select the directory Assignments (item 2 in the figure below).
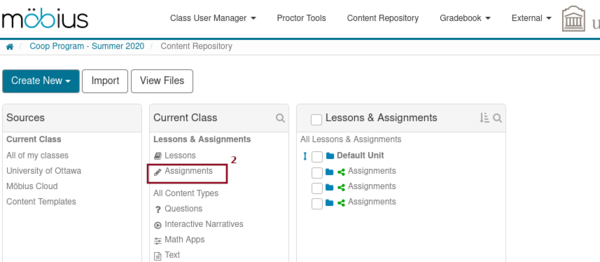
- You get several directories under Assignments.
Those marked by the green share symbol are directories inherited from the parent of your course. There are assignments that you can used. For instance, for the calculus courses, the parent course contains the practice assignment Get to know Möbius. You can create another directory to store your assignments. In the present example, we use the existing directory Default Unit (item 3 in the figure above) to store the assignments. As the name suggests, this directory is created by default.
-
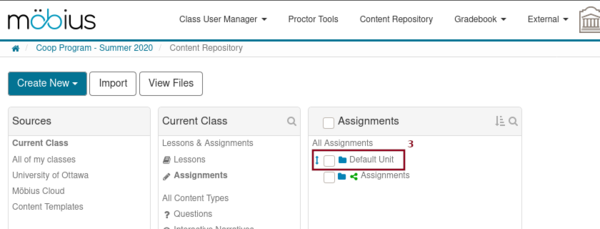
If you click on Default Unit, you get the following directory.

There are already some assignments in this directory.
-
To begin editing your new assignment, select the item Assignment (item 4 in the figure above) under the pull down menu Create New. You get the first tab of three tabs to create an assignment.
-
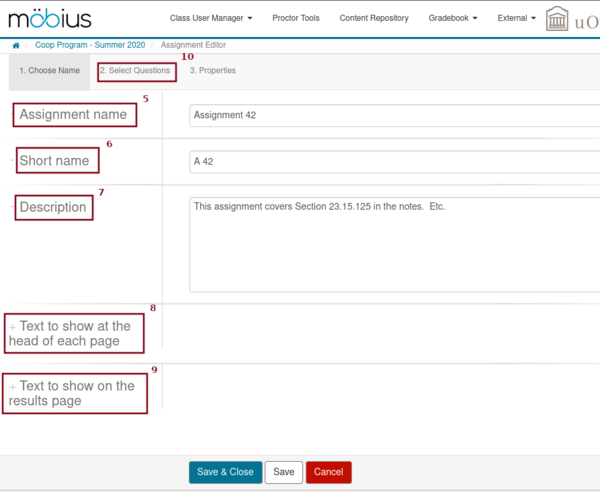
You type in the title of the assignment in Assignment Name (item 5 in the figure above) and a short version of the title in Short Name (item 6 in the figure above). The short version of the title is used when listing assignments. You may enter a description of the assignment with your instructions in the section Description (item 7 in the figure above). This description will appear on the front page of the assignment and when listing the assignment on the home page of the course in Möbius.
The test that you may type in in the section Text to show at the head of each page (item 8 in the figure above) will appear at the top of each page of the assignment. This section is very useful when you find out that one of the questions of the assignment is broken (this obviously never happens). The text that you post in that section automatically appears at the top of each page of the assignment even if students have already started their assignment.
Finally, if you want to write comments to be displayed after the students submit their assignments, you may type them in the section Text to show on the results page (item 9 in the figure above).
-
When you have completed the first tab, you select the second tab Select Questions (item 10 in the figure above to get the following display.
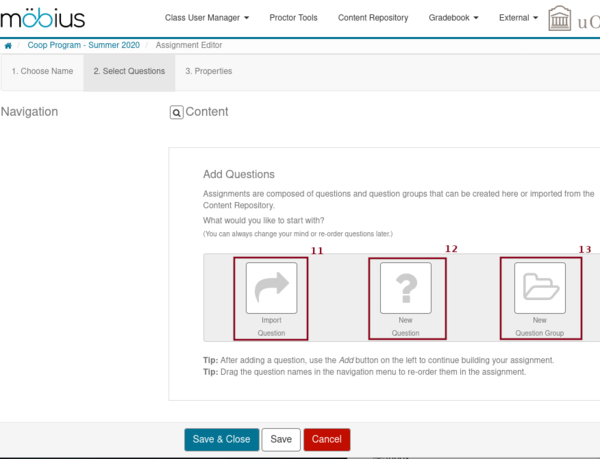
There are three options to add questions to your assignment. We right away eliminate one of the them. If you click on the question mark above New Question (item 12 in the figure above), you can start authoring a new question. Unless you really know what you are doing or the question that you plan to ask is very elementary, you probably don't want to use this option. We focus on the other two options.
-
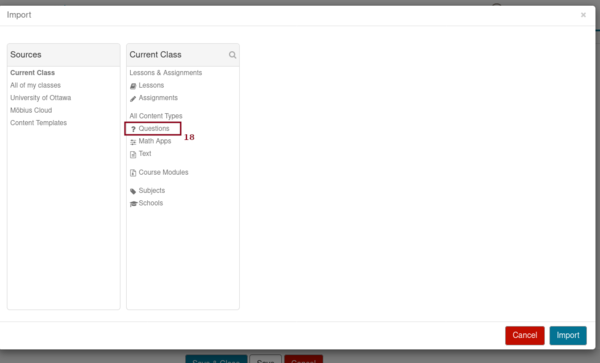
To add an existing question, you click on the arrow above Import Question (item 11 in the figure above). You ge a popup window with the Content Repository where you can proceed to select the questions that you want from the directory Question (item 14 in the figure below).
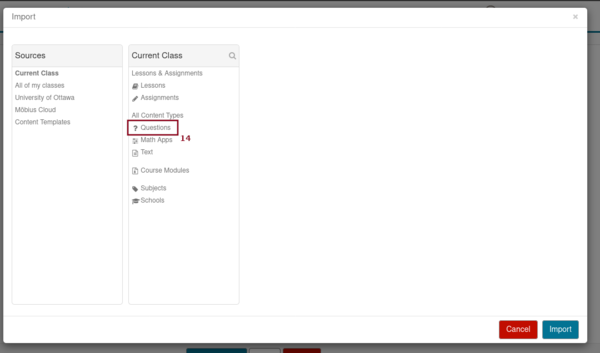
The procedure to select questions is similar to the procedure to preview questions.
-
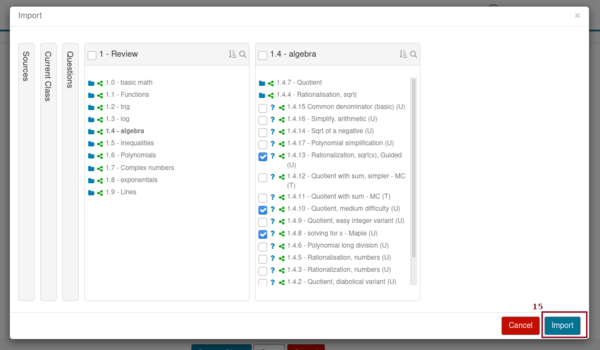
If you click on Question (item 14 in the figure above), and keep on clicking on the subdirectories until you get the list of questions that you want, you get a display like the following one.
-
Let's suppose that you want the questions 1.4.8 - solving for x - Maple (U), 1.4.10 - Quotient, medium difficulty (U) and 1.4.13 - Rationalization, sqrt(x), Guided (U). You only have to check the box on the left of the question and click on Import (item 15 in the figure above. You then go back to the tab Select Questions.
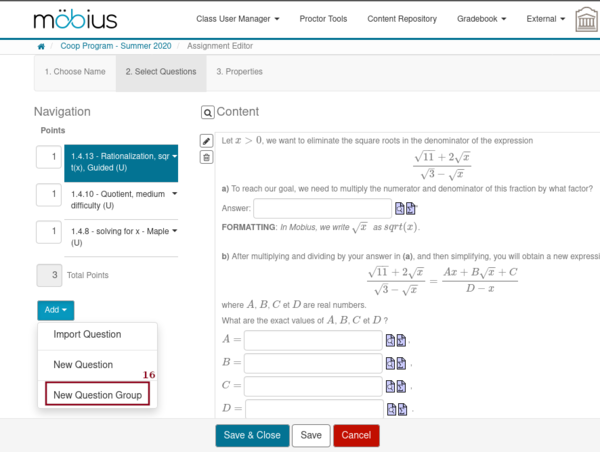
By default, all questions are worth 1 point each but you are free to change it if you consider that a question is worth more than the others.
You are probably not done. You may proceed similarly to add questions to your assignment. There is another option to add questions to your assignment that we mentioned at the beginning of the presentation of the tab Select Questions.
-
If you click on the folder above New Question Group (item 13 in the first figure about Select Questions above) or on the item New Question group of the pull down menu Add (See 16 in the figure above), you go back to the tab Select Questions but in a restricted mode (the questions are no longer displayed and the option New Question Group is gone) as in the following display.
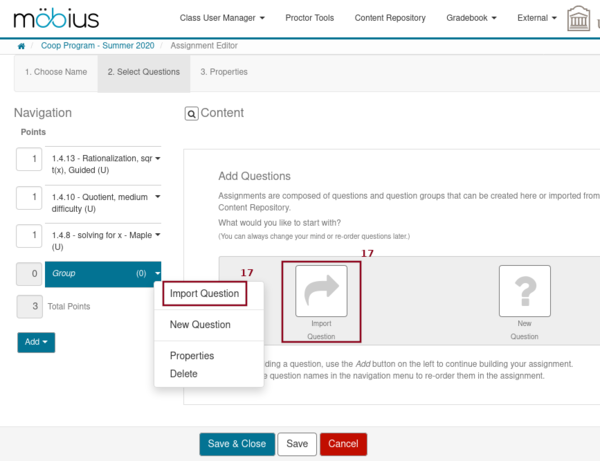
You can see the new question Group under the list of questions that we have already added.
-
You can always add new questions but again we assume that you want to add existing questions. You select either the arrow above Import Question or the item Import Question under the pull down menu associate to the group (item 17 in the figure above) to get again the popup window with the Content Repository.
-
Again, you click on the Questions and its subdirectories to reach the questions that you want to add to the group.
-
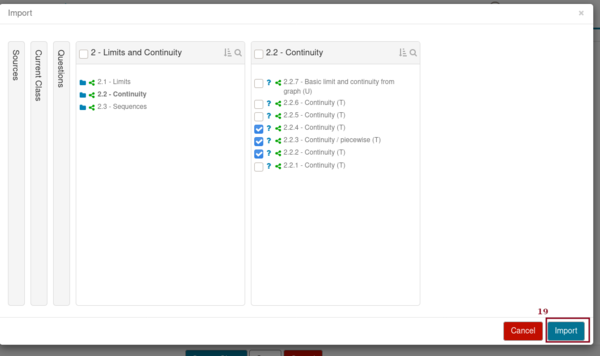
Let's suppose that you want the questions 2.2.2 - Continuity (T), 2.2.3 - Continuity / piecewise (T) and 2.2.4 - Continuity (T). You proceed as you did to add questions above. You check the box to the left of each question and click on Import (item 19 in the figure above). You then go back to the tab Select Questions.
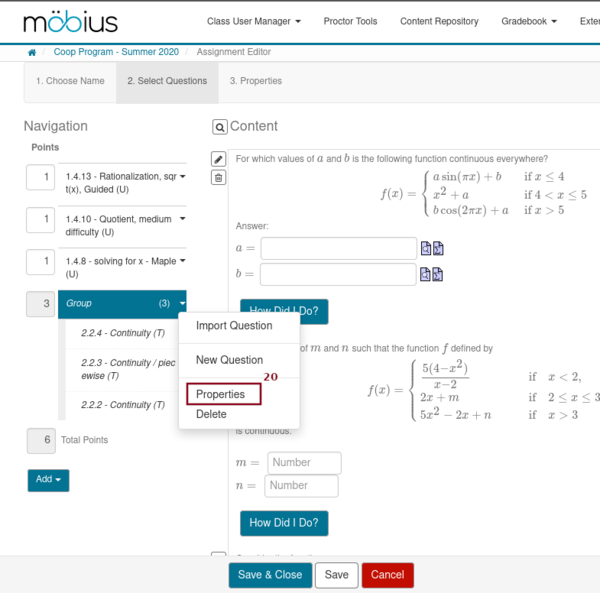
As you can see in the figure above, the three questions are grouped under your question Group. By default, each question is worth 1 point each and all questions of the group will appear in the assignment. This is probably not you intention when creating a group. It would have been simpler to just add the questions if it was what you wanted. If you select Properties (item 20 in the figure above), you get the following popup menu to format your group.

-
First, you can change the name of your group to something other and more informative than Group by modifying the field beside Name (item 21 in the figure above). Probably that you want Möbius to select only a subset of questions from the three questions that you have added to your group. Let's suppose that you want Möbius to select only one question out of the three questions. You check the box beside Randomly (item 22 in the figure above) and select 1 from the pull down menu (item 23 in the figure above). Finally, you select the number of point for each of the questions that will be selected by Möbius in the field beside Allow (item 24 in the figure above. When you are done, click on Save (item 25 in the figure above). After doing that, you again go back to the tab Select Questions
-
-
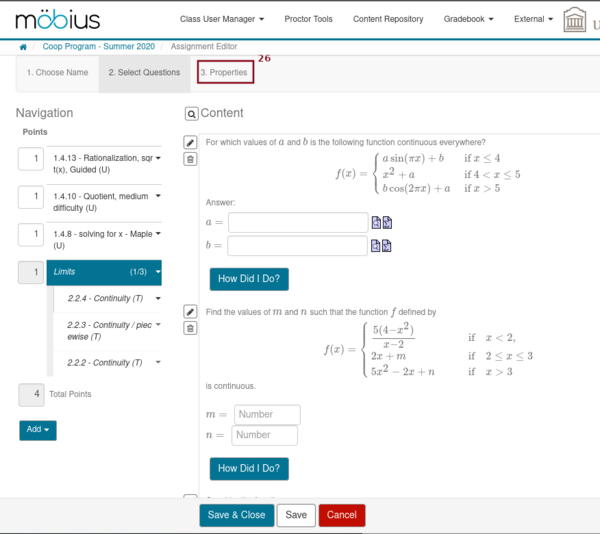
Let's suppose that you have added all the questions that you wanted to included in your assignment. You are now ready to define the properties of your assignment: start date, due date, ... You do all that under the tab Properties (item 26 in the figure above). This tab is a long form that is easy to fill in but requires some careful explanation. For this reason, you should read the section for all the details. We assume that you did so and fill in the form to meet your needs. You are ready to save all your work. You only have to click on Save & Close (item 27 in the figure below) at the bottom of the tab.
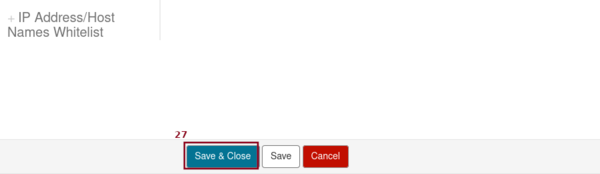
You can Save & Close at any time and come back later to complete your assignment. You MUST however make sure to hide the assignment as it is explained in the section .
-
After clicking on Save & Close, you get a popup window as the following one.
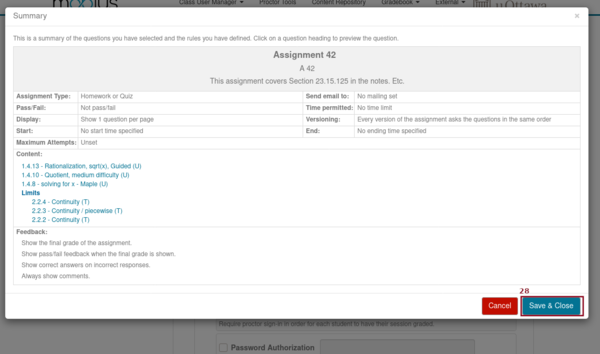
You can review the information about the assignment to make sure that it is exactly what you want.
-
Finally, after clicking Save & Close (item 28 in the figure above) again to finally end your work. You than return to the Content Repository.
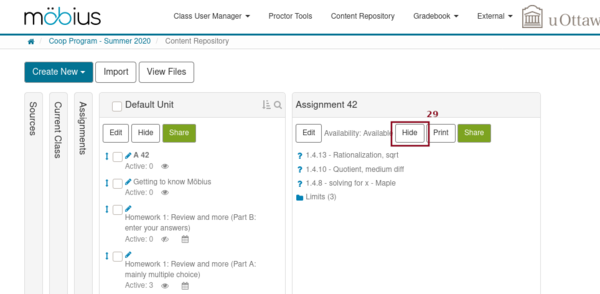
In the figure above, you can click on Hide (item 29 in the figure above) to hide the assignment. Or, if the box displays Show, to make the assignment visible. Note that visible doesn't mean accessible. The assignment is only accessible between your start and due dates.
In the present case, since the assignment is visible, you can see it when you go to the home page of the course on Möbius.
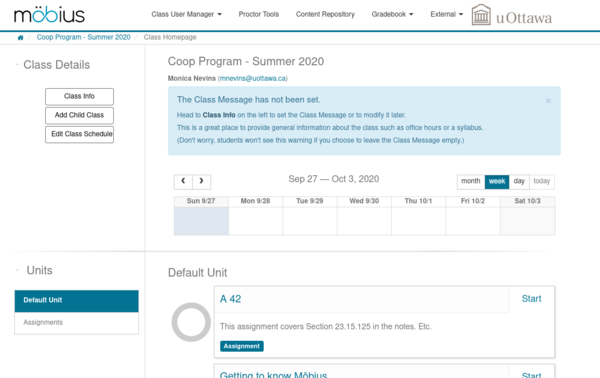
In the present case, it is even accessible because we made it so.